Industrial Pump Maintenance: The Ultimate Checklist (with PDF)


When your industrial pumps stop working, your whole operation can quickly grind to a halt. A reliable pump maintenance checklist can help you catch problems early and keep your equipment running smoothly.
You may not have time to read lengthy maintenance guides, but missing a key step can be costly. In this article, you’ll find the simple steps you need to check, test, and care for your pumps safely and efficiently.
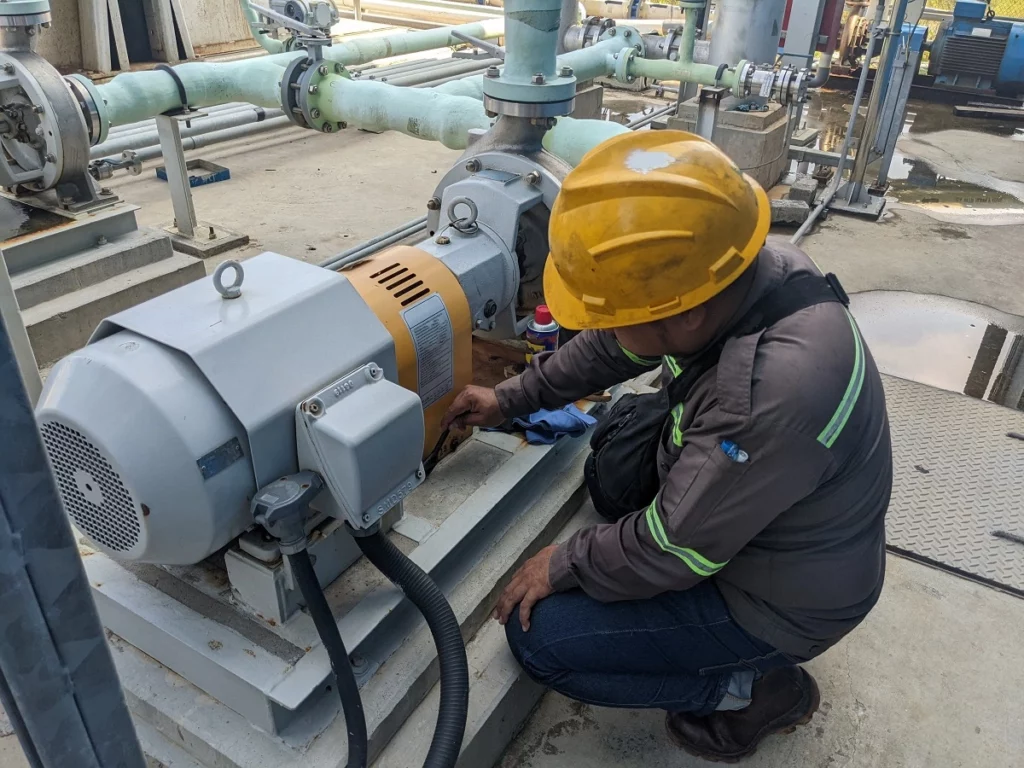
Before starting any work on industrial pump, you need to make sure the equipment is fully powered down and isolated from energy sources, hazards are clearly identified, and everyone is wearing the right safety gear. Strict procedures and careful planning help lower the chance of injury or equipment damage.
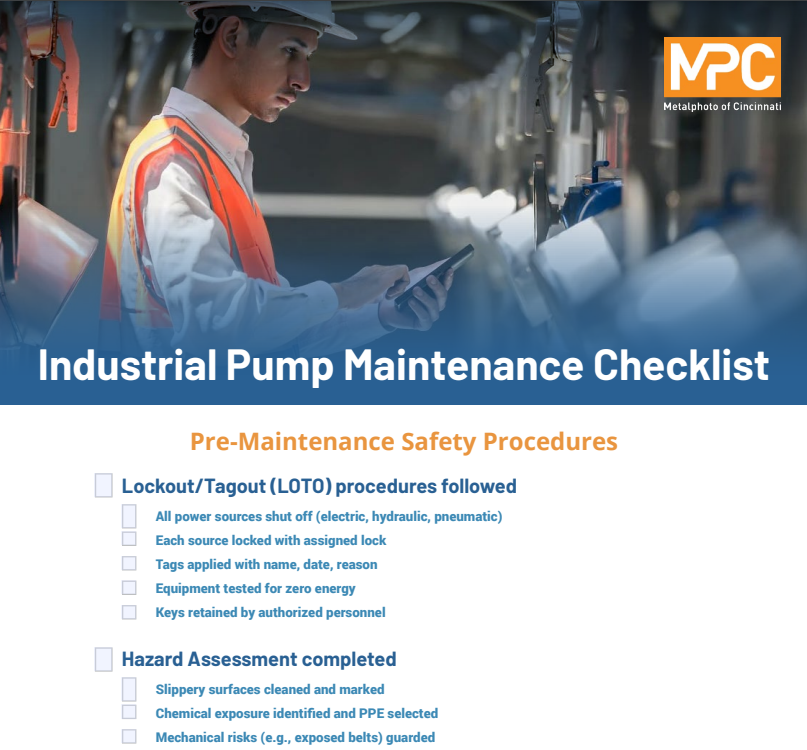
Lockout/Tagout (LOTO) procedures prevent machinery from starting by accident during maintenance. You must shut off all power sources to the pump, including electric, hydraulic, and pneumatic connections. Use locks and tags to block switches and valves. The tags should list your name, the date, and the reason for the lockout.
A typical LOTO checklist includes:
Never remove another worker’s lock or tag unless you have written permission and follow facility protocols.
Before you begin any maintenance, assess the area for potential hazards. Look for wet floors, chemical spills, and moving parts. Check if there are high-temperature surfaces, sharp edges, or parts that could fall.
Identify any hazardous chemicals or pressurized systems connected to the pump. Use a checklist to mark each risk found:
| Hazard Type | Example | Action Needed |
| Slippery Surfaces | Oil leaks on the ground | Clean and mark area |
| Chemical Exposure | Nearby cleaning agents | Use gloves/masks |
| Mechanical Risks | Exposed belts/gears | Guard or cover |
Communicate any hazards to your team before beginning any preventative maintenance procedures.
Wearing the right personal protective equipment (PPE) reduces the risk of injury. At minimum, you should wear:
Inspect your PPE for damage before use. Replace anything that’s ripped, cracked, or missing parts. Make sure your PPE fits properly for the best protection. Always follow your workplace’s PPE guidelines or ask a supervisor if you’re unsure which equipment to use.
Careful visual inspection can identify problems with industrial pumps before they cause breakdowns. Looking at certain key areas helps maintain pump safety, reliability, and performance.
Check the pump’s outer casing for dents, cracks, and signs of wear. Corroded surfaces, chipped paint, or broken fasteners can signal damage or exposure to harsh chemicals.
Inspect all labels and warning signs. They should be clean, clear, and readable. Missing or worn labels must be replaced right away.
Look for buildup of dirt, oil, or rust. These can hide defects and make heat buildup more likely. Clean surfaces not only look better but also help spot new issues early.
Use this table to track key points:
| Check Item | Pass/Fail | Notes |
| Casing Damage | ||
| Paint/Coating Status | ||
| Label Visibility | ||
| Surface Cleanliness |
Examine the area around the pump and beneath it for any puddles, stains, or moisture. Signs of leaking fluid usually include discoloration or sticky spots.
Check all seals, gaskets, and connections for drips or wetness. Tighten loose fittings using the manufacturer’s recommended tools and torque values.
Use a flashlight to spot leaks in hidden or shaded areas. If you notice a leak, mark the spot and report it for repair. Small leaks can lead to major failures if ignored.
Common leak sources include:
Verify that all mounting bolts are present and secure. Loose fasteners can cause vibration and unwanted movement.
Check the base plate and supports for cracks, rust, or bending. Misaligned bases or mounts let the pump shift during operation.
Inspect the coupling alignment if possible. Misalignment between the pump and motor can cause noise, vibration, and wear on bearings. Use a straight edge or laser tool for higher accuracy.
You can use a checklist like this:
Proper care of mechanical parts prevents breakdowns and ensures that your pumps operate optimally. Focus on inspecting moving parts, keeping seals intact, and selecting the appropriate lubrication routine.
Start by turning off the pump and locking out power before inspection. Look for wear or cracks in couplings. A damaged coupling can cause the pump to vibrate or stop working.
Check alignment with a straightedge or laser tool. If couplings are out of line, re-align them to avoid strain.
Bearings should spin smoothly and quietly. Use a stethoscope or listen for unusual sounds like grinding or squeaking. Warm or hot bearings could mean a lubrication issue or internal damage.
Make sure the mounting bolts are tight. Loose bolts will lead to more vibration and further damage.
If you see worn parts, replace them before restarting the pump.
Seals and gaskets keep fluids from leaking out of your pump. Regularly check around these points for drips or moisture.
Look for cracks, swelling, or hardening on gaskets. If a seal feels brittle or pieces are missing, it should be replaced right away.
It’s important to inspect gland packing and mechanical seals closely. Leaks in these areas often start small but can damage other parts if left unaddressed over time.
Always use the correct type and size of replacement seals. Using mismatched seals can cause leaks and pressure loss.
Record any changes or replacements in your maintenance log for tracking.
Lubrication keeps pump parts moving smoothly. Check your pump’s manual for the right oil or grease type and follow the recommended schedule.
Too little lubrication can make bearings wear out fast, while too much can cause overheating and damage.
Steps for safe lubrication:
Common Lubrication Intervals
| Pump Type | Lubrication Needed | Frequency |
| Small centrifugal | Grease bearings | Every 3 months |
| Large industrial | Oil change/check | Monthly |
| Magnetic drive | Slide bearing inspection | Every 6 months |
Keep clear records of your lubrication activities, noting the type, date, and amount used. This helps you spot trends or catch problems early.
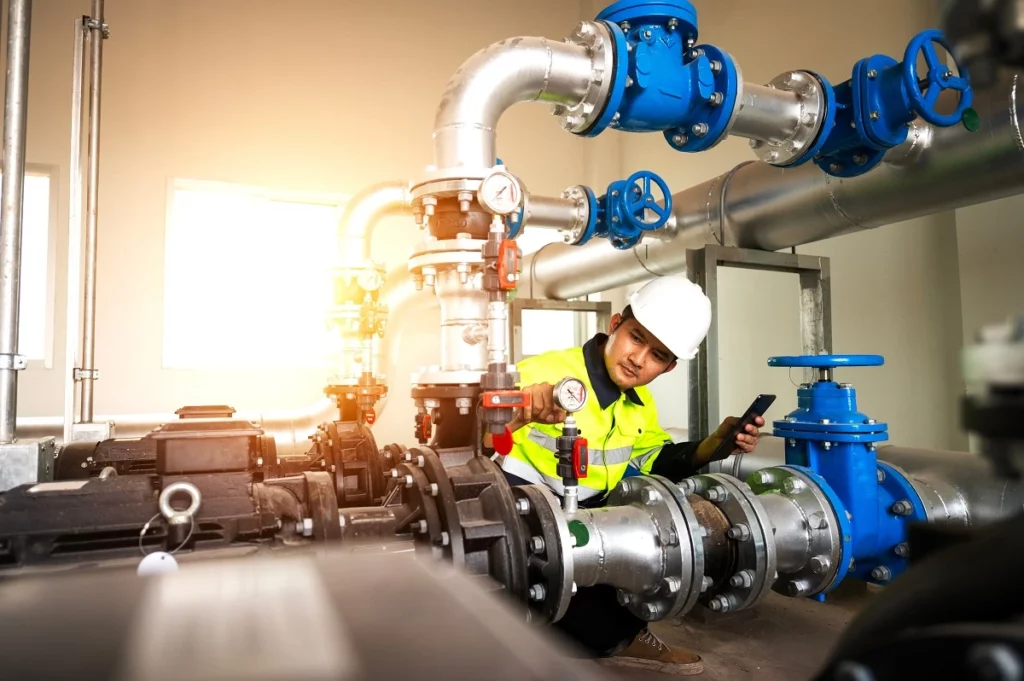
Operational tests help you find problems that could affect safety or performance. Testing your pump during startup, shutdown, and while it is running can prevent breakdowns and reduce maintenance costs.
When starting your pump, you should check for abnormal sounds, leaks, and unusual movements. Use this checklist:
During shutdown, let the pump cool down if it has run for long periods. Turn off the power safely and close valves in the order shown by the manufacturer. This prevents water hammer (sudden pressure surges) and stress on the system.
If any alarms or warning lights turn on, stop the pump right away and inspect it before restarting. Record all test results for future reference.
Checking your pump’s flow rate ensures it meets process requirements. Use a calibrated flow meter or measure the output over time. Steps include:
Compare the measured flow to the pump’s rated capacity. A lower flow rate may signal problems like blocked filters or worn components. If your readings differ by more than 10%, inspect for clogs, leaks, or worn impellers.
In some cases, flow readings can help you decide if repairs are needed or if the pump is too small for your needs.
Noise and vibration checks can show hidden issues such as misalignment, bearing wear, or cavitation. You can use a handheld vibration meter or listen for changes during operation.
Checklist for noise and vibration analysis:
| Checkpoint | What to Listen/Look For |
| Bearings | Grinding or squealing noises |
| Housing | Excessive shaking or rattling |
| Piping connections | Loose fittings or banging sounds |
| Seal area | Hissing or water leaks |
If you find a higher vibration than normal, shut down the pump and inspect the shaft alignment, supports, and fasteners. Regular monitoring helps you spot problems early, before damage spreads or the pump fails. Record any findings and repair actions in your maintenance log.
Accurate records help you track service dates, completed work, and any problems found. Good documentation also helps you spot trends and plan future maintenance.
You should update logs every time you perform any work on a pump. Write down the pump’s unique details using its nameplate, which includes information like model, serial number, and manufacturer.
Include the date of service, type of maintenance, and the name of the person who did the work. Keep all entries clear and easy to read. When possible, use checklists or tables for faster review. A sample log could look like this:
| Date | Pump Nameplate | Task Performed | Technician |
| 2025-06-10 | Model X, SN12345 | Seal replaced | J. Smith |
| 2025-06-12 | Model Y, SN67890 | Bearing inspected | A. Chen |
Regular updates help avoid missed tasks and repeated work.
When you find an issue or something unusual, make a clear note in your report. Record what you observed, like odd noises, leaks, or changes in performance. Always include exact details from the industrial nameplate to avoid confusion about which pump had the problem.
List the date, time, specific issue, and the steps taken in response. Use bullet points if needed:
Accurate reports help you solve problems faster and can prevent major failures in the future.
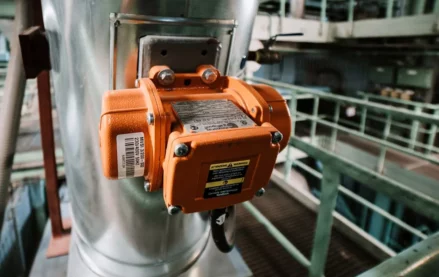
Accurate recordkeeping depends on being able to identify pumps quickly and correctly. Each pump’s nameplate carries essential details (e.g., model number, serial number, performance ratings, and manufacturer information) that maintenance teams use to log inspections, order replacement parts, and track service history.
If those nameplates fade, corrode, or wear off, you risk costly delays and errors. Technicians may have to spend extra time confirming equipment details, and using incorrect information can lead to misordered parts or missed safety steps. Over time, this adds up to higher maintenance costs and unnecessary downtime.
MPC’s industrial pump nameplates, such as Metalphoto® Aluminum Nameplates and Metal Nameplates for Equipment and Applications, are designed to withstand the harshest industrial environments. Manufactured using durable metals and engineered marking processes, MPC nameplates resist corrosion (from water, chemicals, and cleaning agents), abrasion (caused by frequent handling and harsh conditions), extreme temperatures (which can damage conventional labels), and fading (from UV exposure or wear over time.
By ensuring pump information stays legible throughout the equipment’s life cycle, MPC’s durable industrial nameplates give maintenance teams confidence in their documentation and compliance processes. That means fewer delays, fewer errors, and smoother preventative maintenance schedules.
Keeping your industrial pumps in peak operating condition requires consistent, structured maintenance. That’s why we’ve created a comprehensive industrial pump maintenance checklist to walk your team through every essential step.
From pre-maintenance safety procedures and visual inspections to lubrication, operational testing, and recordkeeping, this interactive checklist ensures nothing gets overlooked. By following it, you can minimize costly breakdowns, extend the lifespan of your equipment, and boost overall reliability across your operations.
Whether you’re performing daily checks, scheduling preventive maintenance, or troubleshooting irregularities, this checklist provides a clear framework to keep your pumps running efficiently and safely.
Download your Interactive Industrial Pump Maintenance Checklist [PDF]
Staying on top of industrial pump maintenance doesn’t have to be complicated—but skipping steps can be costly. By following clear safety protocols, inspecting for visible wear and leaks, keeping mechanical components in good shape, and regularly testing performance, you can extend pump life and avoid unexpected breakdowns.
Consistent documentation and early detection are key to keeping your operations running reliably and efficiently. A simple checklist and a few minutes of attention can make all the difference.
Using an organized industrial pump preventative maintenance checklist helps limit problems and downtime. Sticking to the right schedule and tracking your work leads to safer and more efficient pump operations.
Check for leaks, unusual noises, and vibration on every visit.
Inspect seals, gaskets, couplings, bearings, and hoses for wear. Make sure all fasteners and supports are tight.
Clean filters, strainers, and lubrication points. Test alarms and electrical connections. Record all findings.
Routine inspections should happen weekly or monthly, depending on usage and environment.
Lubrication and minor adjustments may be done monthly. Full checks are often done every three to six months.
Check your manufacturer’s manual for any specific intervals.
Sudden changes in noise level, severe vibration, or pump overheating require urgent attention.
Unusual drops in pressure, visible leaks, or failed seals should not be ignored.
Any tripped safety alarms or irregularities in instrument readings are warning signs.
Log each inspection and repair, including dates and any parts replaced.
Use a digital system or simple paper log to keep track. Review your data to spot trends or recurring problems.
Regular reviews of this information help you adjust maintenance schedules and plan for upgrades or replacements.
Our sales engineers are experts in automatic asset tracking, tagging and identification,a nd can answer all your questions. Get in touch now.
Lets Talk ›